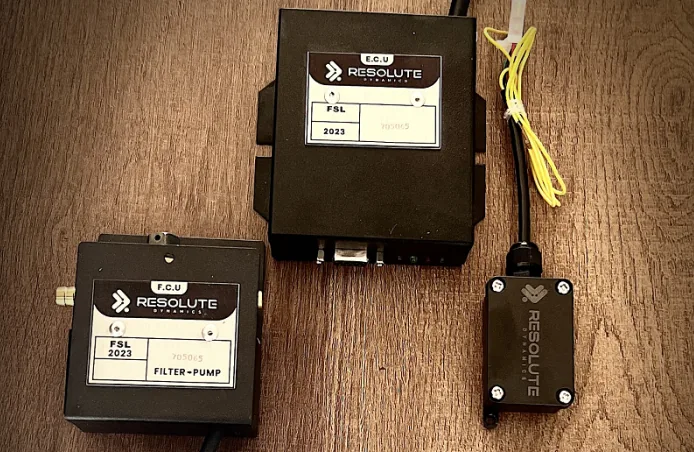
If your Malaysian commercial fleet falls under the JPJ Speed Limiter mandate, correct installation of the Speed Limitation Device (SLD) is what turns paperwork compliance into actual road-legal operation. A poorly installed device fails PUSPAKOM inspection, invalidates your Speed Limit Certificate, and can ground your vehicle from Mulkiya renewal.
This guide walks fleet operators, workshop technicians, and individual commercial vehicle owners through the complete SLD installation process — from pre-installation checks to the final certification upload — using the standards required by Jabatan Pengangkutan Jalan (JPJ) and enforced during PUSPAKOM roadworthiness testing.
What You Need Before Installation
Confirming Your Vehicle Falls Under the JPJ SLD Mandate
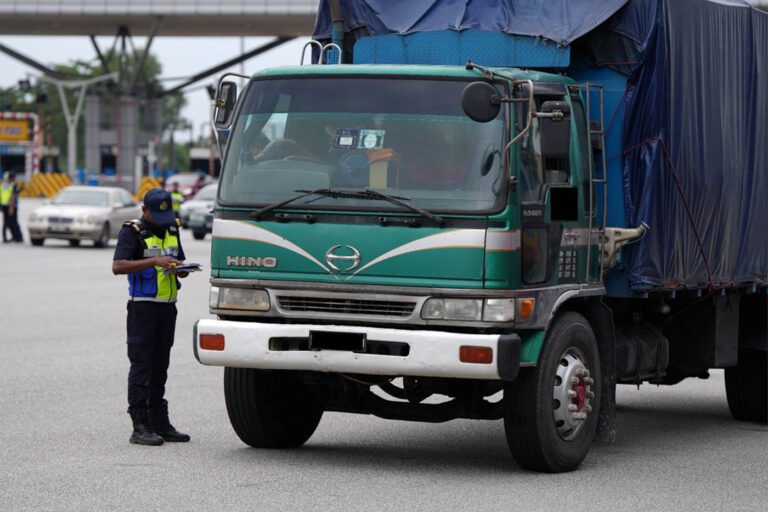
The Malaysia JPJ speed limiter requirement applies to specific vehicle classes. Before booking installation, confirm your vehicle sits within the mandated categories:
- Heavy Goods Vehicles (HGVs) with Gross Vehicle Weight above 3,500 kg
- Express and stage buses
- Passenger vehicles carrying more than 8 passengers with GVW above 5,000 kg
- Long-haul and cross-border commercial transporters
- Logistics and construction fleets in the mandated vehicle classes
If your vehicle is a private passenger car, motorcycle, or light commercial van below the GVW threshold, you likely fall outside the mandate — but confirm with your installer before assuming exemption.
Documents & Records You Will Need
Bring the following to your installation appointment:
- Vehicle registration card (Mulkiya) — proof of ownership and current registration status
- Previous PUSPAKOM inspection reports (if the vehicle has an inspection history)
- Engine and chassis identification documents — used to select the correct device configuration
- Insurance certificate — some installers require this to confirm vehicle usage class
- Company authorisation letter — for fleet vehicles being installed on behalf of a corporate owner
Why You Must Use a JPJ-Authorized Installer
Only workshops accredited by JPJ can issue a valid Speed Limit Certificate that PUSPAKOM will accept during roadworthiness testing. A general mechanic — even a skilled one — cannot certify SLD installation. Using an unauthorized installer means:
- The certificate will not be recognised by PUSPAKOM
- Your vehicle will fail annual inspection and cannot renew Mulkiya
- You may face penalties for operating without a valid certified device
- Insurance claims involving speed-related incidents may be voided
Always verify the installer’s JPJ accreditation number before booking. Reputable installers display their JPJ authorisation openly.
The 6-Step SLD Installation Process
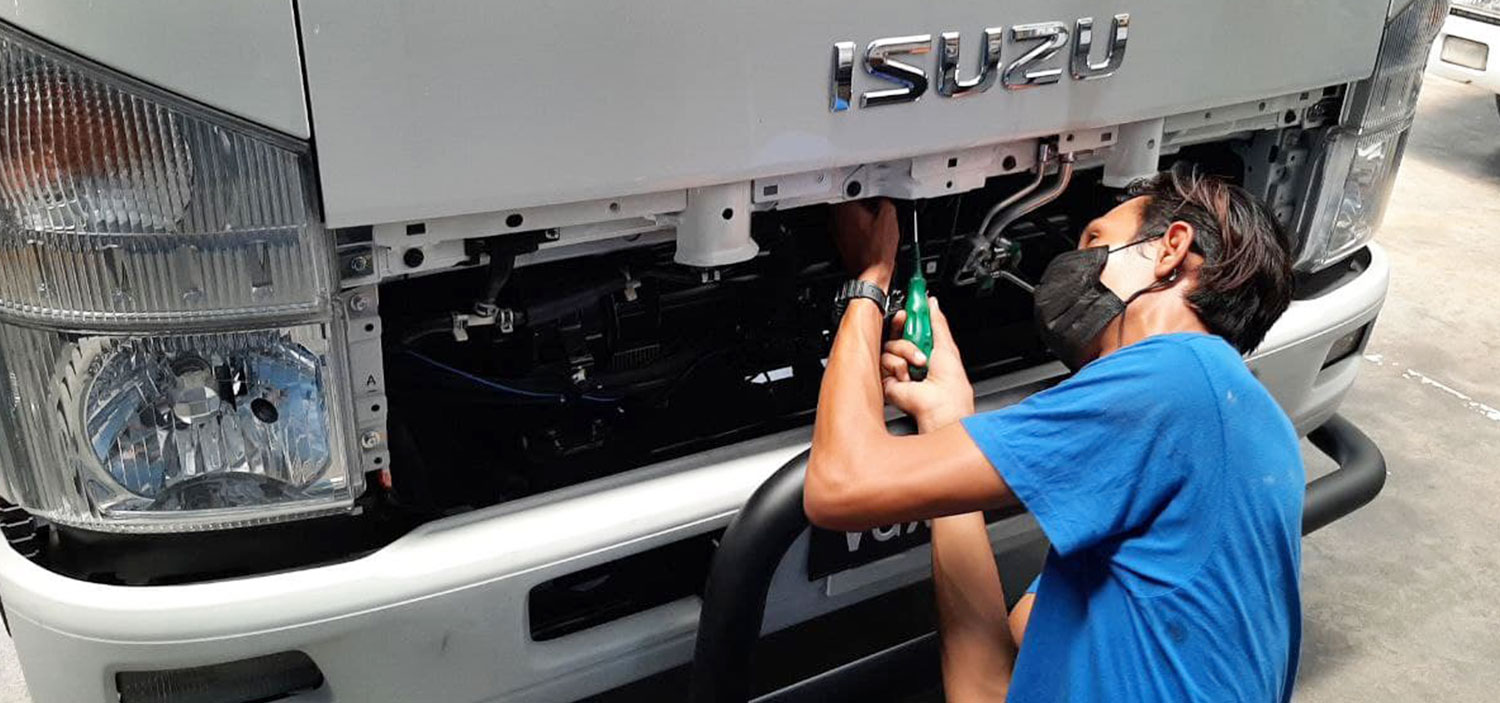
Step 1 — Vehicle Inspection & Compatibility Check
The installer begins by inspecting your vehicle’s engine management system, existing wiring, and dashboard configuration. They will identify:
- Whether the vehicle has an electronically-controlled engine (ECU) or a mechanical-diesel injection system
- Whether any prior speed limiter device was fitted (and whether it must be removed)
- The correct device model for your vehicle’s engine and terrain profile (see ECU vs Retrofit section below)
- Any pre-existing wiring faults that must be resolved before the SLD can operate reliably
This inspection typically takes 20–40 minutes and prevents mid-installation surprises.
Step 2 — Choosing Between ECU Activation and External Retrofit
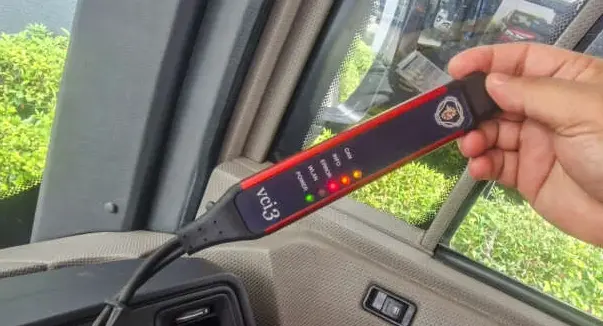
Vehicles built from 2015 onwards typically have an electronically-controlled engine where speed limiting can be activated directly through the ECU with the correct diagnostic tool. Older vehicles, or vehicles with mechanical-diesel injection systems, need an external retrofit device wired into the throttle or fuel-pump control path. The installer confirms which method applies to your vehicle based on the Step 1 inspection.
Step 3 — Physical Device Mounting
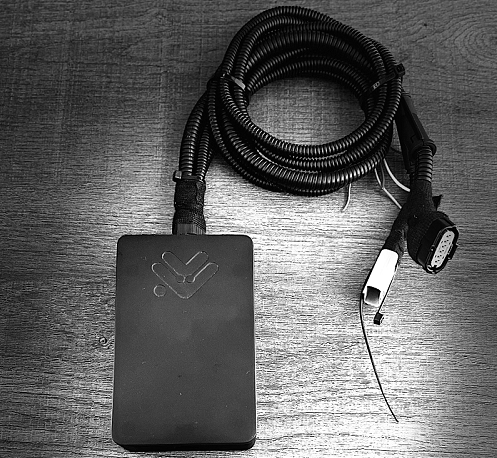
For ECU activation, no physical device is added — the limiter is a firmware setting written into the existing engine controller. For external retrofit installations, the certified SLD hardware is physically mounted in a protected location on the chassis or inside the cab, away from heat and moisture but accessible for future inspection.
Step 4 — Wiring, Sensor & Signal Integration
The installer wires the device into the vehicle’s speed-signal source (typically the vehicle speed sensor or CAN bus), the throttle or fuel control circuit, and the ignition switch. Every connection is soldered, heat-shrunk, and looms are secured so the wiring passes PUSPAKOM visual inspection. Any splice into the OEM harness must be reversible and clearly documented.
Step 5 — Calibration to the 90 km/h Cap
Once wired, the device is calibrated so that the vehicle physically cannot exceed the JPJ-mandated 90 km/h cap. Calibration is done either on a rolling road, on a certified test track, or via ECU-verification tools depending on the device type. The installer records the calibration result on the certificate — this is one of the specific line items PUSPAKOM checks.
Step 6 — Sealing, Certificate Issuance & JPJ Upload
The device (or the ECU tampering point) is sealed with a tamper-evident JPJ-recognised seal. The installer then issues a signed and stamped Speed Limit Certificate containing the vehicle chassis number, installed cap value (90 km/h), calibration date, installer’s JPJ accreditation number, and the seal serial. The certificate is uploaded to the JPJ verification portal and a copy is provided to you for your compliance records.
ECU Activation vs External Retrofit — Which Applies to You?
Choosing the correct installation method depends on your vehicle’s age, engine type, and configuration. Here is a side-by-side comparison:
| Factor | ECU Activation | External Retrofit |
|---|---|---|
| Vehicle age | 2015 and newer with electronic engine controller | Pre-2015, or older mechanical-diesel vehicles |
| Physical hardware added | None — firmware setting only | Certified external SLD unit added |
| Typical installation time | 30–90 minutes | 3–8 hours depending on vehicle |
| Cost profile | Lower — primarily labour and calibration | Higher — includes hardware, wiring, and labour |
| Ongoing serviceability | Diagnosed via ECU scan tool | Requires physical inspection of device and wiring |
| Applies to Phase | Phase 1 & Phase 2 rollout | Phase 3 retrofit deadline (1 July 2026) |
Your JPJ-authorized installer will confirm which method your vehicle qualifies for during Step 1 of the process.
How Long Does the Installation Take?
Actual installation time varies by vehicle type, method, and workshop scheduling. Realistic estimates:
- Light commercial truck or van (ECU activation): 45–90 minutes end-to-end
- Heavy truck or prime mover (ECU activation): 1.5–3 hours including calibration
- Express bus (ECU activation): 2–4 hours including calibration
- Older diesel lorry (external retrofit): 4–8 hours across two workshop visits in some cases
- Fleet installation (multiple vehicles at one location): mobile team can typically complete 6–10 vehicles per day per technician pair
Book early — workshop appointment slots fill up quickly as each JPJ enforcement phase deadline approaches, particularly the Phase 3 retrofit deadline on 1 July 2026.
What Happens After Installation
Speed Limit Certificate Documentation
Your installer provides a signed and stamped Speed Limit Certificate. Keep a physical copy in the vehicle at all times and a digital copy in your fleet records for at least the validity period of the certificate.
JPJ Verification & PUSPAKOM Re-Inspection
The certificate is uploaded to the JPJ verification portal by the installer. When your vehicle attends its next PUSPAKOM appointment, inspectors will physically verify the seal, check the device operation (typically by attempting to exceed 90 km/h on a test rig), and match the vehicle to its uploaded certificate.
Ongoing Compliance Requirements
The device must remain functional and sealed at all times. Any engine work, ECU reflash, gearbox change, or other operation that could affect the limiter requires re-sealing and, in some cases, a fresh certificate. Keep your fleet workshop informed — unauthorized service work is a common cause of PUSPAKOM inspection failure.
Common Installation Mistakes That Cause PUSPAKOM Failure
Even after a competent installation, small oversights can invalidate the certificate. The most frequent issues we see on failed PUSPAKOM inspections:
- Broken or missing tamper seal. A single break voids the certificate, even if the device still works.
- Certificate not uploaded to the JPJ portal. Physical certificate in the vehicle is not enough — PUSPAKOM verifies against the portal.
- Calibration set to the wrong cap. Rare, but happens when the installer confuses vehicle class defaults.
- Wiring left visible in a way that suggests tampering. Even properly-installed wiring can be flagged if it is not looped and secured.
- Vehicle chassis number on certificate does not match the vehicle. Data-entry errors during certificate issuance.
- Post-install ECU work that erased the limiter setting. Common when vehicles are serviced by a workshop that did not know a JPJ limiter was active.
- Using an unauthorised installer. Certificate is rejected outright by PUSPAKOM.
Ask your installer for a post-installation walkaround so you can visually confirm the seal, wiring, and paperwork before you leave the workshop.
Frequently Asked Questions
Can I install a JPJ speed limiter on my truck myself?
No. Self-installation is not permitted for JPJ compliance. Only workshops accredited by JPJ can issue a Speed Limit Certificate that PUSPAKOM will accept. A self-installed device, even one that physically works, will fail inspection.
What if my truck has an aftermarket ECU or engine tune?
Aftermarket ECUs can complicate the installation. The installer will assess whether the aftermarket unit is compatible with a firmware-based limiter, or whether an external retrofit device is required instead. Any performance tune that raises the top speed above the JPJ-mandated cap will need to be adjusted.
How do I know if my vehicle needs an external retrofit or ECU activation?
Vehicles registered from 2015 onwards with electronically-controlled diesel or petrol engines typically qualify for ECU activation. Older vehicles, particularly those with mechanical-diesel injection pumps, require an external retrofit device. The installer confirms this in Step 1 of the process.
Is the tamper seal really required?
Yes. The tamper-evident seal is what proves to PUSPAKOM inspectors that no one has adjusted the limiter after installation. A broken, missing, or reapplied seal invalidates the certificate immediately.
What happens if the seal breaks during routine service?
The device must be re-sealed by a JPJ-authorized installer and a fresh certificate issued. Any work that could affect the limiter — ECU reflash, throttle cable replacement, gearbox swap — requires re-verification and re-sealing before the vehicle returns to service.
How often does the device need re-calibration?
The certificate is typically valid for one year, aligned with your PUSPAKOM inspection cycle. Re-calibration is performed at each annual inspection and after any significant engine work.
Ready to Install a JPJ Speed Limiter for Your Malaysian Fleet?
Resolute Dynamics is a JPJ-authorized Speed Limiter and SLD provider serving Malaysian commercial fleets. From single-vehicle installations to on-site fleet deployments across the Klang Valley and beyond, our certified team handles the full six-step process — device selection, installation, calibration, sealing, and certificate upload to the JPJ portal — so your vehicles pass PUSPAKOM the first time.
Request a formal SLD installation quote for your Malaysian fleet →

The Resolute Dynamics team designs and manufactures speed limiters (SLD), GPS tracking, and automotive safety systems used on 200,000+ vehicles across 20+ countries. We write about fleet compliance, road-safety regulation, and vehicle-safety technology, including Malaysia’s JPJ SLD mandate, UAE RTA rules, and global standards like UN R89, to help fleet operators and transport businesses stay safe and compliant.